Users of Samsung Galaxy TAB 4 7.0 Wi-Fi SM-T230 has received a minor OTA update as XXU0ANE6. The new OTA update comes with few stability tweaks for a better android 4.4.2 KitKat experience. Its an OTA update, so you have received the notification but if you haven't received the notification then do not worry because you can update it manually by using ODIN.

Before You Start
Update Samsung Galaxy TAB 4 7.0 Wi-Fi SM-T230 With Official XXU0ANE6 Android 4.4.2 Kitkat Firmware


Before You Start
- This tutorial can only be applied on Samsung Galaxy TAB 4 7.0 SM-T230. Other users please stay away if you do not want to brick the tablet.
- After update the root access will be revoked.
- The custom recovery will reset to stock.
- The custom rom installed on your Galaxy TAB 4 7.0 will return to stock.
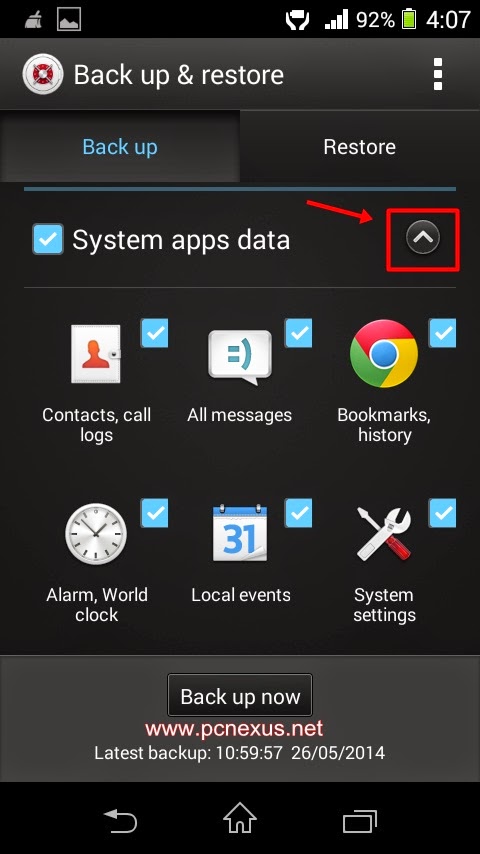
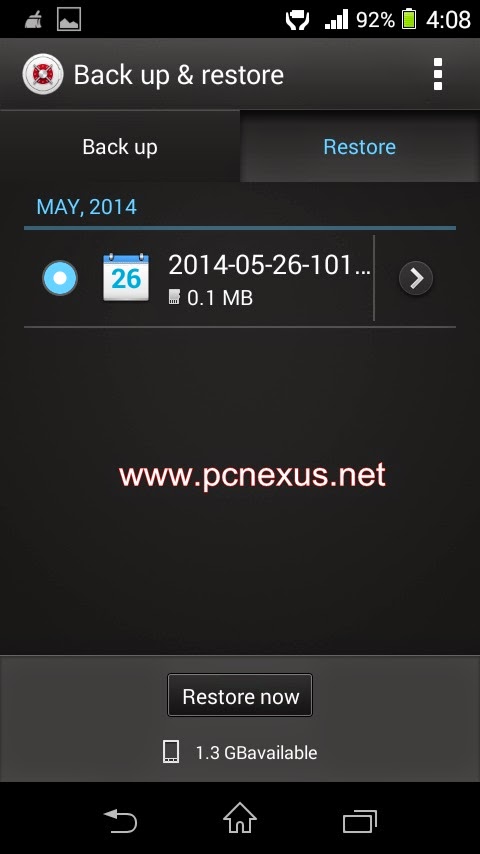
- Use Helium app to backup android apps data so that later you can restore it.
- Backup contacts, photos, videos and other important data.
- Battery should be charged to at least 60%.
- Use this tutorial at your own risk.
Update Samsung Galaxy TAB 4 7.0 Wi-Fi SM-T230 With Official XXU0ANE6 Android 4.4.2 Kitkat Firmware
- Download and install Samsung USB drivers.
- Download the T230XXU0ANE6 firmware and extract it on desktop. It contains a file with .md5 extension.
- Enable USB debugging on your Galaxy TAB 4 7.0 from developer options menu.
- Open odin.exe on your computer.
- Switch off your tablet and reboot it in download mode by pressing 'Home', Volume down' and 'Power key' at the same time until your phone vibrates. Press the volume up button to enter into odin mode.
- Now connect tablet to PC via USB cable.
- Let odin recognize your tab. When it is recognized by odin the field under <ID:COM> in odin will turn blue and you will see a message "<ID:0/016> Added!!".This means that your Galaxy Tab 4 7.0 is recognized and is ready to be flashed.

- Make sure that only "Auto Reboot", and "F.Reset Time" options should be checked.
- Now check 'PDA' or 'AP' and click it and select the firmware file from the desktop. Wait for few seconds till ODIN finishes some checks.
- Click 'Start' to initiate the flashing process.
- When the process is completed odin will return a message 'PASS'. When your phone first boots to home screen then disconnect it from PC.
Problems After Updating Galaxy TAB 4 7.0 Wi-Fi
If your phone does not boot post the splash screen then it might be stuck in a boot loop. So to resolve this reboot the phone into recovery mode by pressing the volume up, home key and power button at the same time.
- The device will automatically boot in recovery mode. You can move up and down by pressing volume up and down buttons. Now select “wipe data/factory reset”.
- The device will be wiped and factory reset. Then go back and select “wipe cache partition”.
- After wiping cache partition go back and select “reboot system now”.